Faded Edges Photos
Page 4
If you want more words in another location on your graphic, go back to the Layer Palette and create Layer 4 - this one should be on top. Select the Text tool and type your new words. Then add the drop shadow used above.
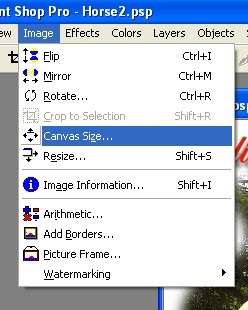
My image didn't have enough white to make the letters stand out from the color part of the photo. So I went to Image - Canvas Size.
The width is fine - but I'm changing the height from 446 to 500 pixels.
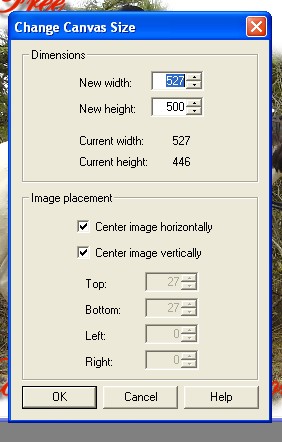
Make sure that the colors selected are the same as your background color. If you don't have any colors selected your will end up with part of your background being transparent.
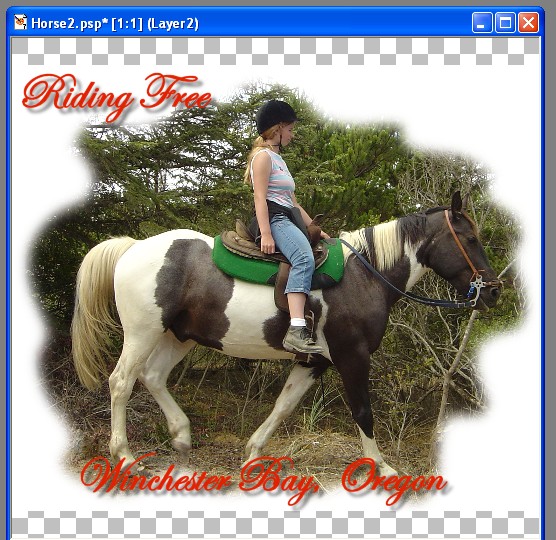
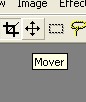
Go to the Layer Palette and click on the bottom layer (the white image). Choose the Flood Fill tool and click anywhere in your image to fill the layer with white. Then use the mover tool to move your different layers to the correct positions.
This looks much better.
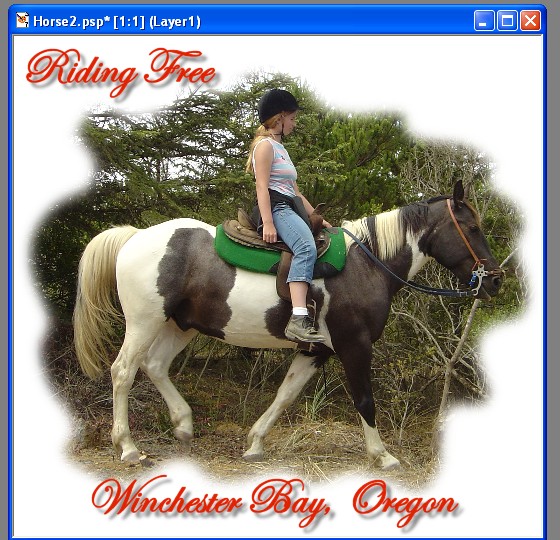
That's it for a transfer to be used on a black shirt.
For a transfer to be used on a white shirt the Text needs to be reversed.
Shift-D to copy your work - close the original and keep the new image open. Save it as Horse3.psp
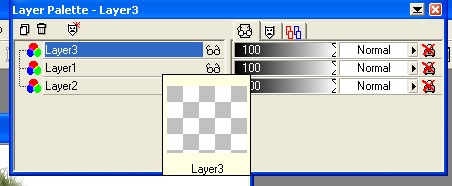
First, make sure you are on the correct layer.
Either use your mover to slightly move the text, which will also select it, or go to the layer palette and click on the correct layer. Either hold your cursor over each layer until the little preview box opens - or close the eyeglasses to find out what is on each layer.
With your text layer selected go to Image - Mirror.

Now use your mover tool to reposition your text on the graphic.
Save your work as a jpg - or print it from psp as a psp file.