Faded Edges Photos
page 2
Open the Layer Palette Box - it should be at the top of your page
![]()
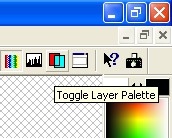
If it's not open - click on the Toggle Layer Palette button - (red page under a sea foam green page - is the icon).
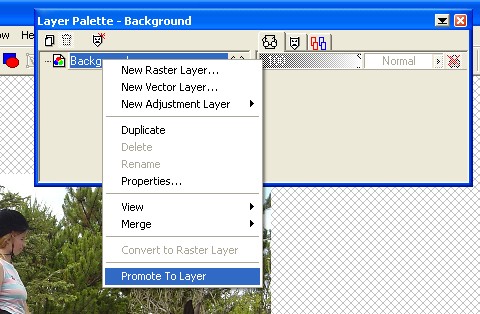
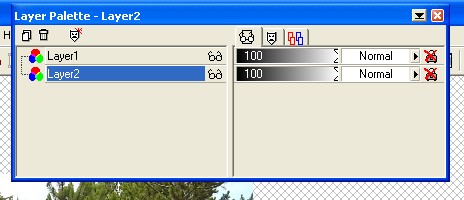
Open the Layer Palette - you will probably only have one layer showing - and it will be called "Background"
Right click on it and choose "Promote to Layer" in the drop down list that will open.
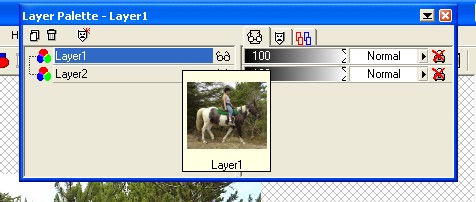
Your layer will now be called Layer 1. Click on the icon that looks like two pieces of paper in the upper left hand corner to create a new layer. This will be called Layer 2.

Layer 2 will be above Layer 1. Click on Layer 1 and drag it above Layer 2.
Click on Layer 2 so it will be selected to be the layer that you are working on next.
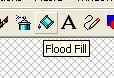
You will want to flood fill this layer with the color you want to have behind your graphic. I'm using white. Click on the Flood Fill tool
Then go to your color palette. Nothing is selected in the palette right now. To make a selection click on the small triangle in the lower right hand corner of the Styles (foreground) box.
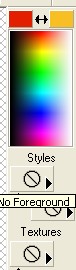
In the small dialog box that opens click on the paintbrush to flood fill with color. The other 3 boxes are from left to right: gradient, pattern, and null (no fill).

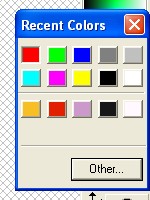
The box will change from the circle with a line through it to a color. But I want white. To change the color, click anywhere in the colored area (not on the triangle) and choose a color from the dialog palette that opens. If you want more colors to choose from you can click on Other.
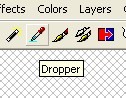
Another way to change colors is to click on the eyedropper tool
And use your cursor to choose a color from the rainbow colored box above the Styles box. Your color choices will appear in the box below the Textures boxes - in this case a shade of green. You can also use your cursor to choose a color from any graphic that you have open in PSP.

Select the Flood Fill tool and click anywhere on your graphic. Nothing will appear to have happened. But your bottom layer is now filled with the color you selected. In this case white.
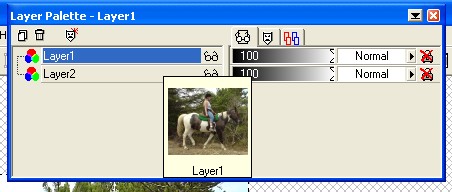
Open your layer palette and hold your cursor over layer 2 for a few seconds. A preview will open so you can see what is on that layer. Alternately, if you click on the glasses of layer 1 - that image will become invisible and you will be able to see layer 2.
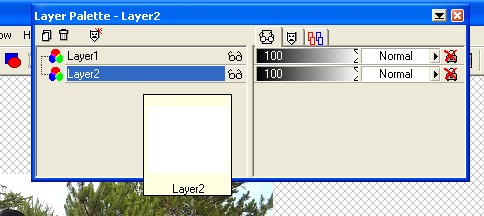
Go back to your layer Palette and click on Layer 1 to make it the selected layer which we will be using next.
Now would be a good time to save your work. Choose a folder on your computer and save your graphic. This one will be saved as Horse.psp
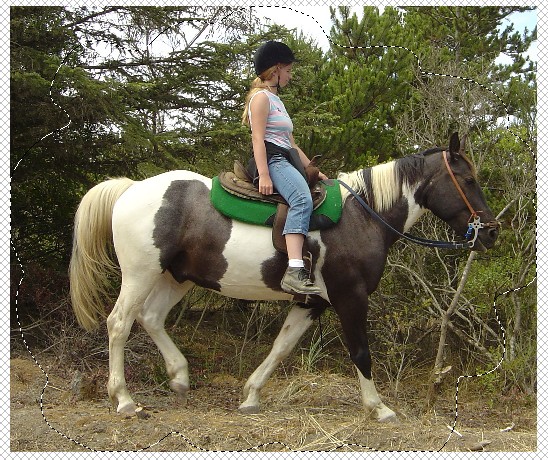
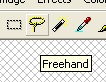
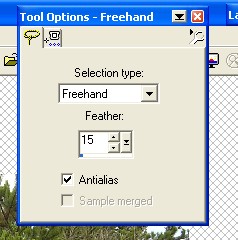
Select the Freehand tool - the lasso.
In the Tool Options box choose a feather of 15 with Antialias checked. Selection type should be Freehand. If your graphic is very large, you might want to have more Feather. A small graphic will take less.
Using your freehand tool draw a random line around your subject, not too close.

When you get back to the beginning of your circle, make sure the two ends meet, then release the freehand tool. The line will become larger in relationship to the amount of feather you have chosen for the tool.